Snort IDS – Part 02: Basic Configuration of Snort
Welcome Back!
With Snort 3 successfully installed in Part 01, the next step is to configure it so that it can begin monitoring your environment effectively. Snort, at its core, is highly flexible, but that flexibility depends on a correctly structured configuration file. Without the proper settings, Snort may run without errors, yet fail to protect your network, or it may generate more noise than useful alerts.
Part 02 focuses entirely on establishing a functional baseline configuration. This includes setting your protected network, reviewing important runtime switches, understanding rule paths, and validating that Snort is ready to operate in IDS mode. The goal is not advanced tuning yet, but a solid, reliable foundation that prepares us for rule customization and alert analysis in later parts of the series.
Understanding Snort 3 Configuration Basics
After reviewed Snort 3 replaced the older snort.conf format with a modern Lua-based configuration system. This change is significant because it introduces better structure, modularity, and clarity. Instead of managing long, flat configuration files, Snort 3 organizes its settings into readable sections and separate modules.
Before making any changes, it is helpful to review Snort’s built-in help system. This menu outlines core switches and modes that you will rely on during configuration, testing, and live monitoring.
Run the following:
snort --help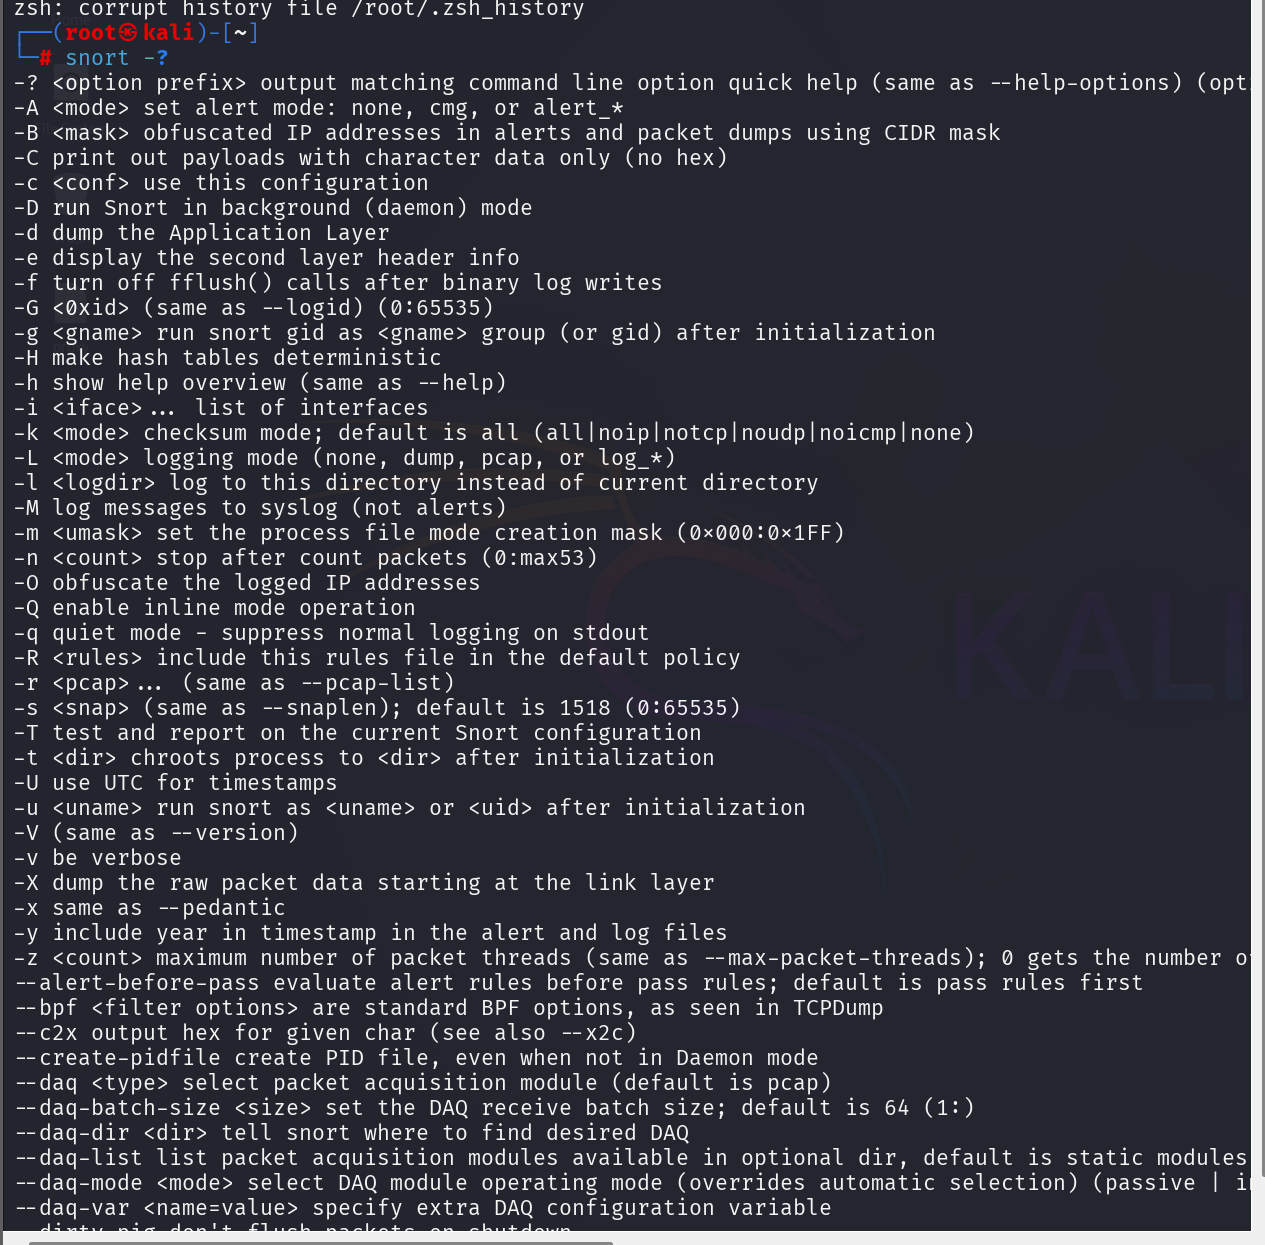
Several switches should be kept in mind as you work:
-cloads the main configuration file.-ispecifies the network interface to monitor.-Acontrols alert formats.-lspecifies output directories.-v,-d, and-echange the level of packet visibility shown in the terminal.
Understanding these options makes it clearer how Snort behaves when switching between sniffer mode, test mode, and active IDS mode.
Running Snort in Basic Sniffer Mode
Before changing any configuration, it is a good idea to verify that Snort can see network traffic on your system. Sniffer mode captures and decodes packets directly in the terminal without loading rules.
Run (packet dump mode on a specific interface):
sudo snort -i eth0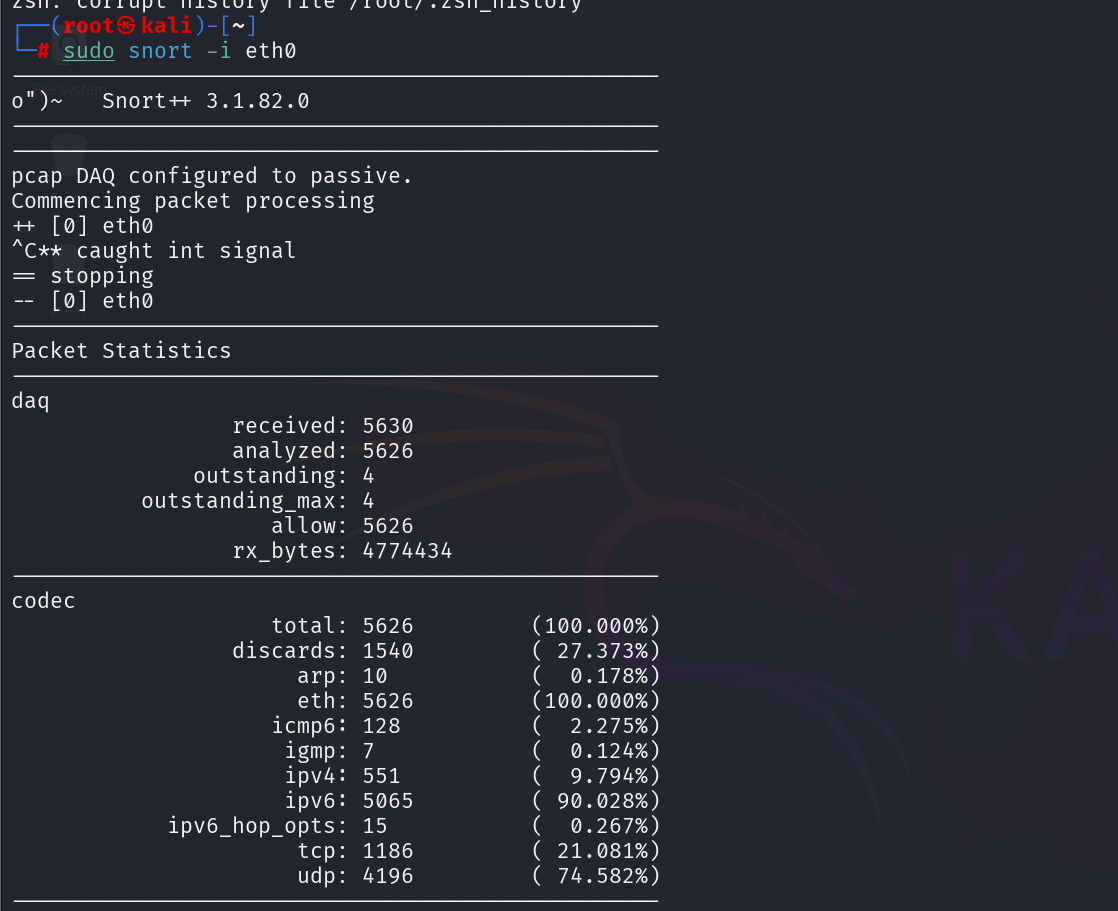
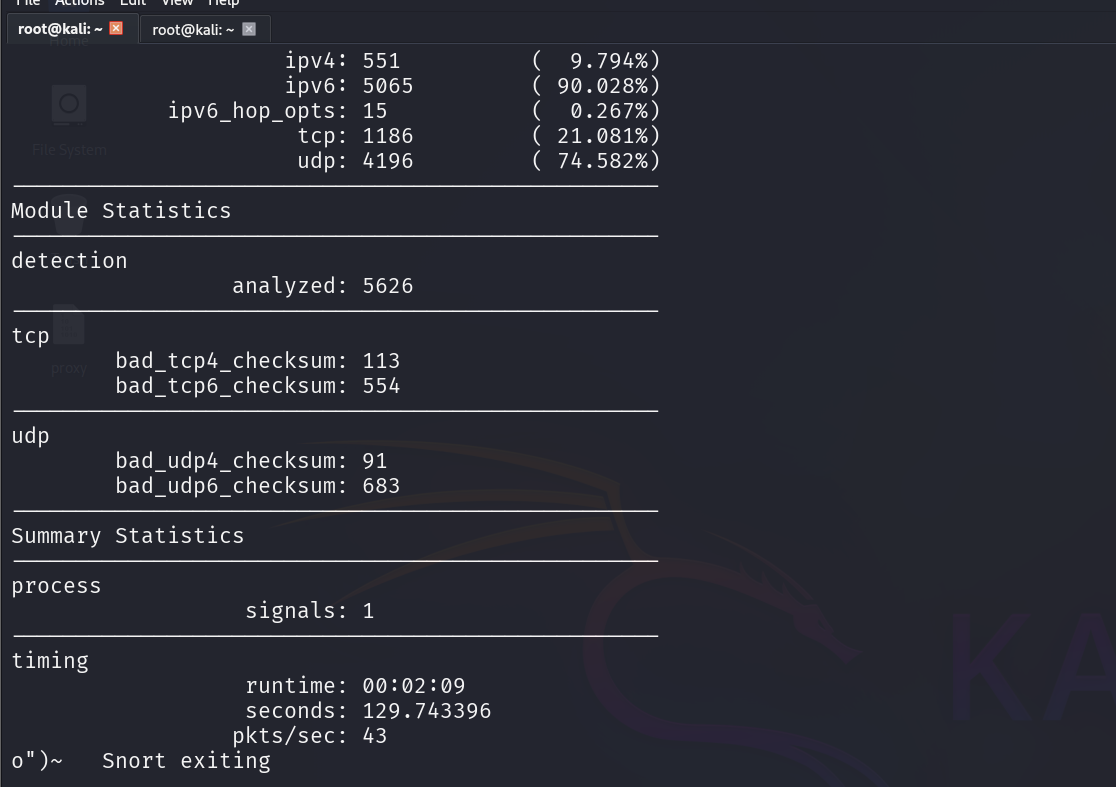
If you see traffic flowing by, Snort is correctly linked to your network interface. This confirms that your installation and DAQ setup from Part 01 are functioning.
Running Snort in IDS Mode Using snort.lua
Snort 3 uses a configuration file named snort.lua, which defines every module, rule path, network variable, and output option. On modern Kali packages the configuration is typically at /etc/snort/snort.lua.
/etc/snort/snort.luaTo start Snort in IDS mode and show alerts on the console:
sudo snort -c /etc/snort/snort.lua -i eth0 -A console -k none
If Snort loads without errors, you are ready to begin configuring it.
Editing the Snort Configuration File
Open the file with your preferred editor. Here, Mousepad is used:
sudo mousepad /etc/snort/snort.lua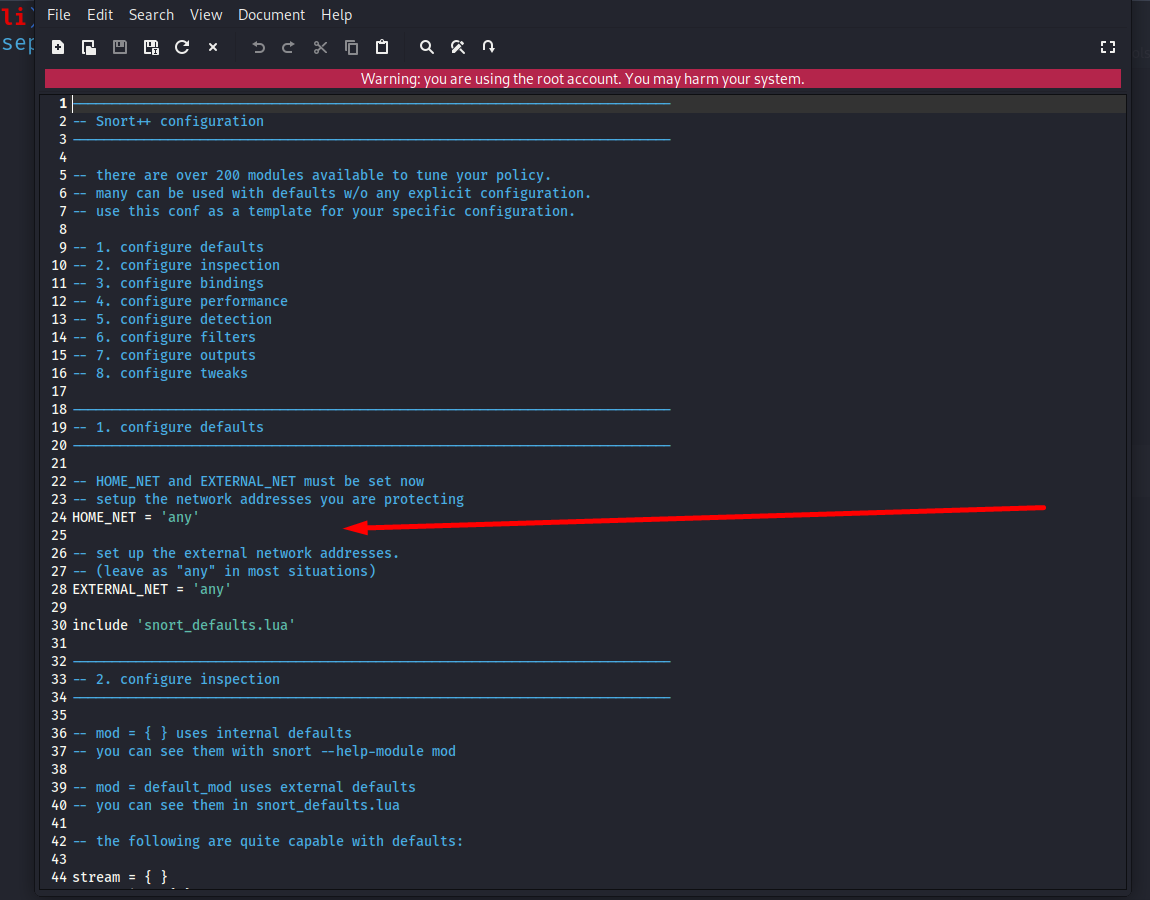
Snort 3 organizes its configuration into multiple sections such as network variables, rule definitions, output, service inspection, and more. In this part, we focus on the essential settings required for a functioning IDS.
Setting the Protected Network: HOME_NET
One of the most important configuration values in any IDS is the protected network definition, commonly referred to as HOME_NET. This tells Snort which traffic belongs to your environment and should receive priority in detection.
Within snort.lua, locate the section that defines HOME_NET.
You will see a placeholder similar to:
HOME_NET = 'any'This should be changed to match your internal network. For example:
HOME_NET = '192.168.181.0/24'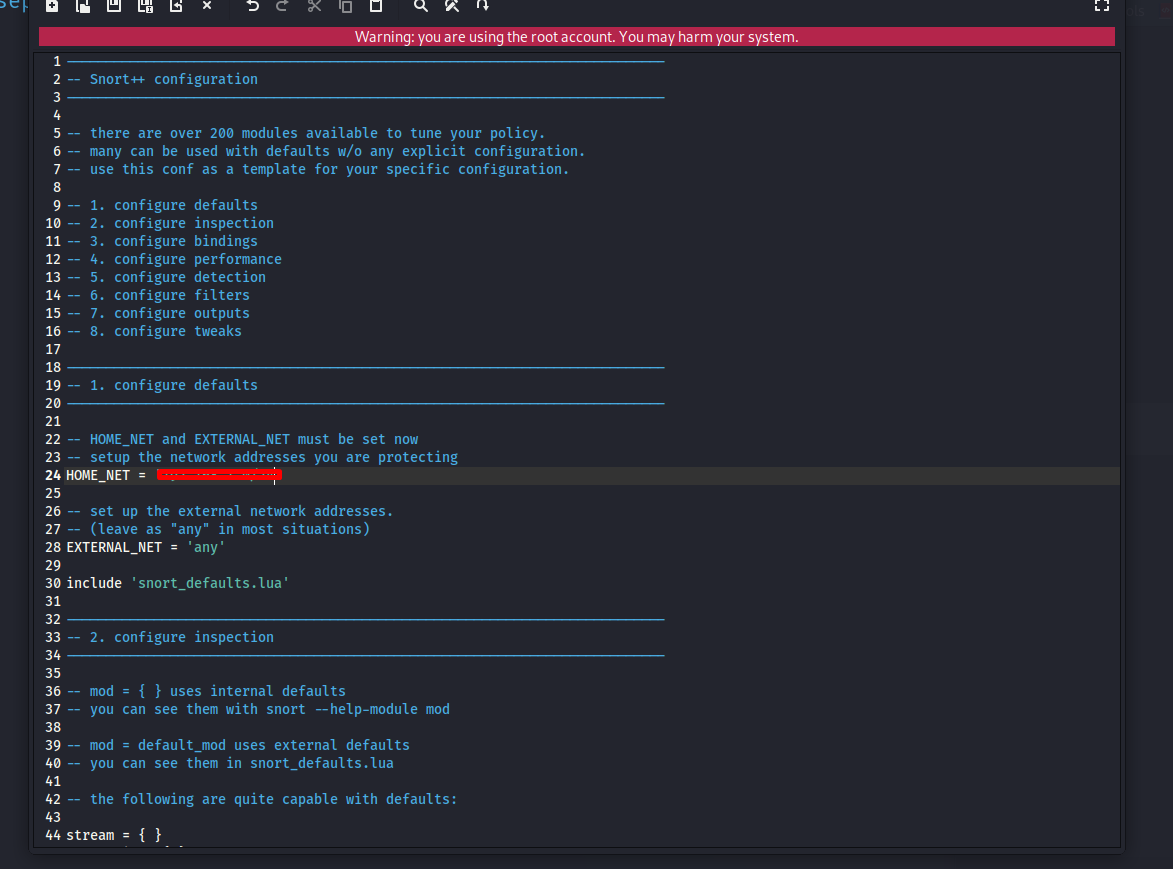
Setting this variable correctly ensures that Snort performs accurate inspection and prevents unnecessary alerts.
Reviewing Output Settings
Snort supports multiple output formats, including fast alerts, full alerts, JSON formats, unified2, and more. For a basic configuration, fast alerts are simple and effective for initial testing.
Scroll through the output section in snort.lua and review which modules are active. The goal is to verify that at least one alert output is enabled so Snort can record events.
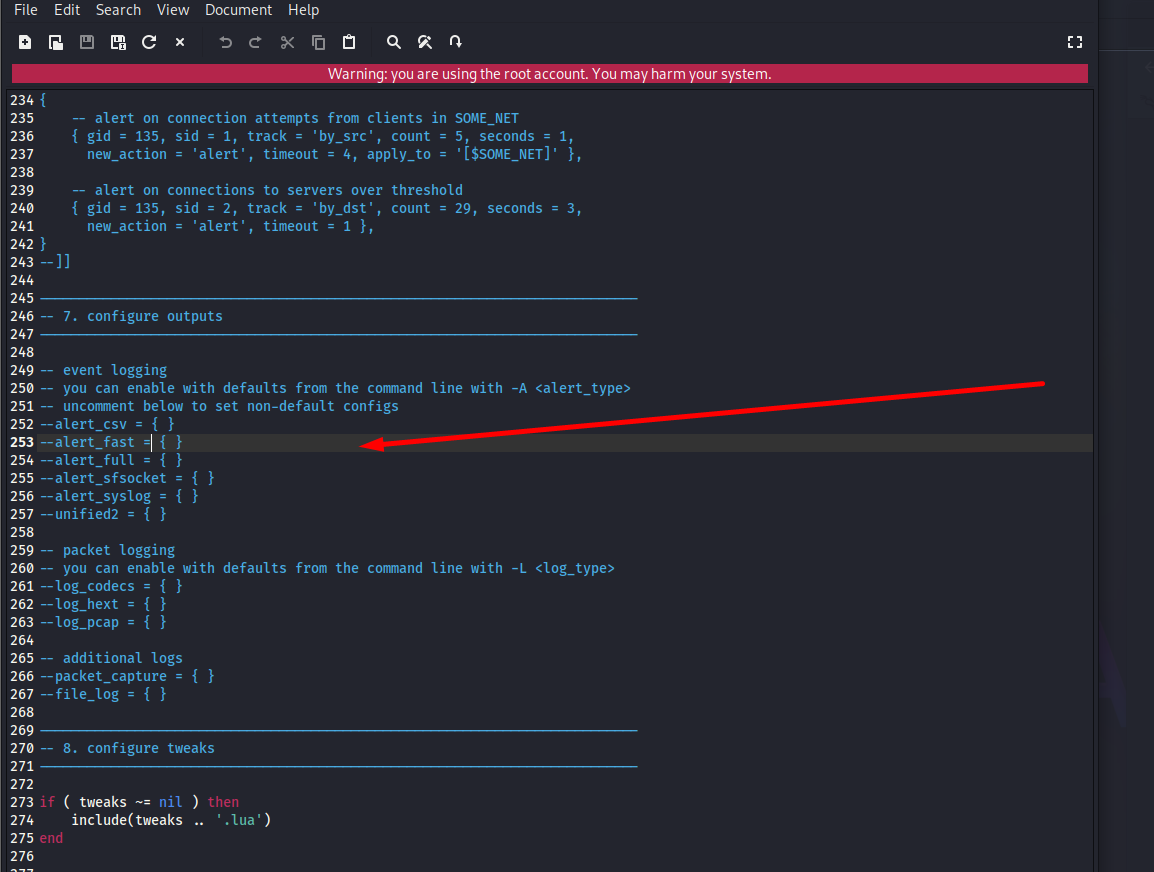
You will adjust these settings later when integrating with logging tools or SIEM systems.
In Snort 3, the output section inside snort.lua controls how alerts and packet logs are generated. By default, these options are commented out, meaning Snort will not log alerts unless an output module is explicitly enabled or specified on the command line. For initial testing, enabling alert_fast or running Snort with -A alert_fast ensures that Snort records detection events in a simple, readable format. This verifies that Snort’s alerting pipeline is functioning before integrating more advanced outputs such as JSON logs, syslog forwarding, or unified2 logging for SIEM ingestion.
Reviewing Rule Paths and Ensuring Rules Are Loaded
Rules are at the core of Snort’s detection capability. Snort 3 uses Lua to organize rule locations, local rule files, and optional rule groups.
Locate the rule configuration section. You will find entries similar to:
include 'local.rules'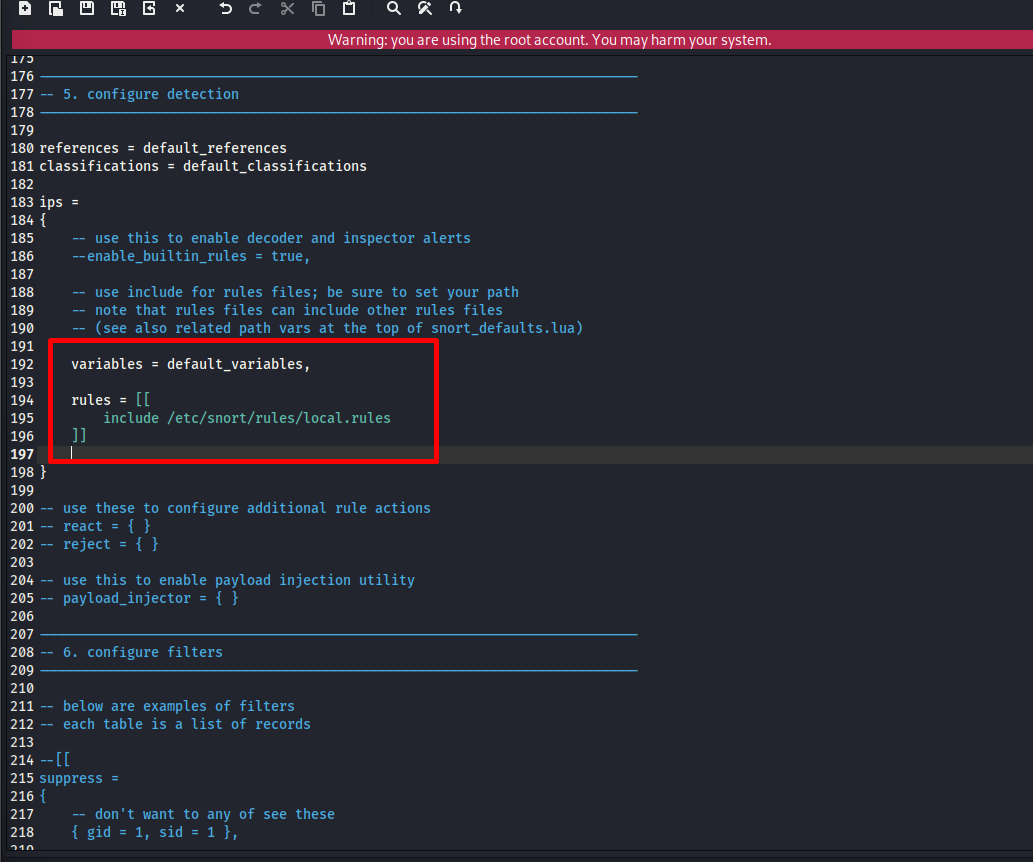
The local.rules file is where you will create your own detection rules in later parts of this series.
Scroll further to review additional rule includes defined by Snort. These can be left as-is for now. If any rule file causes errors later, it can be commented out until needed.
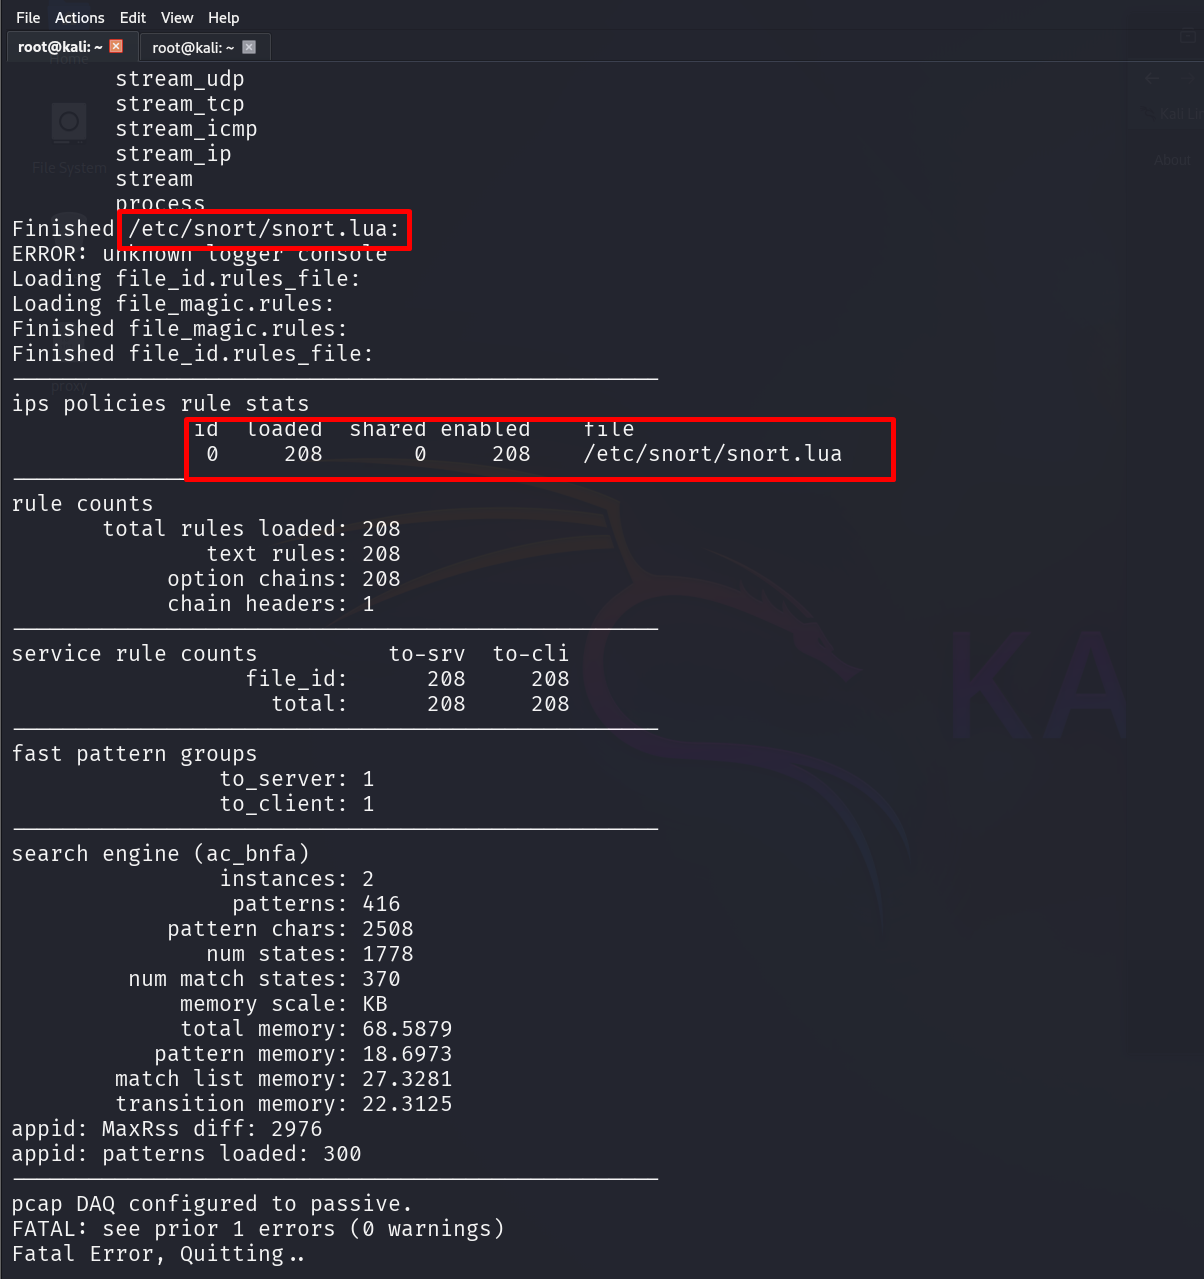
Validating the Configuration
Snort provides a built-in test mode that validates your entire configuration without starting live monitoring. This is useful for catching syntax errors, missing files, or improper module references.
Run the modern validation command (replacement for -T):
snort -T -c /etc/snort/snort.lua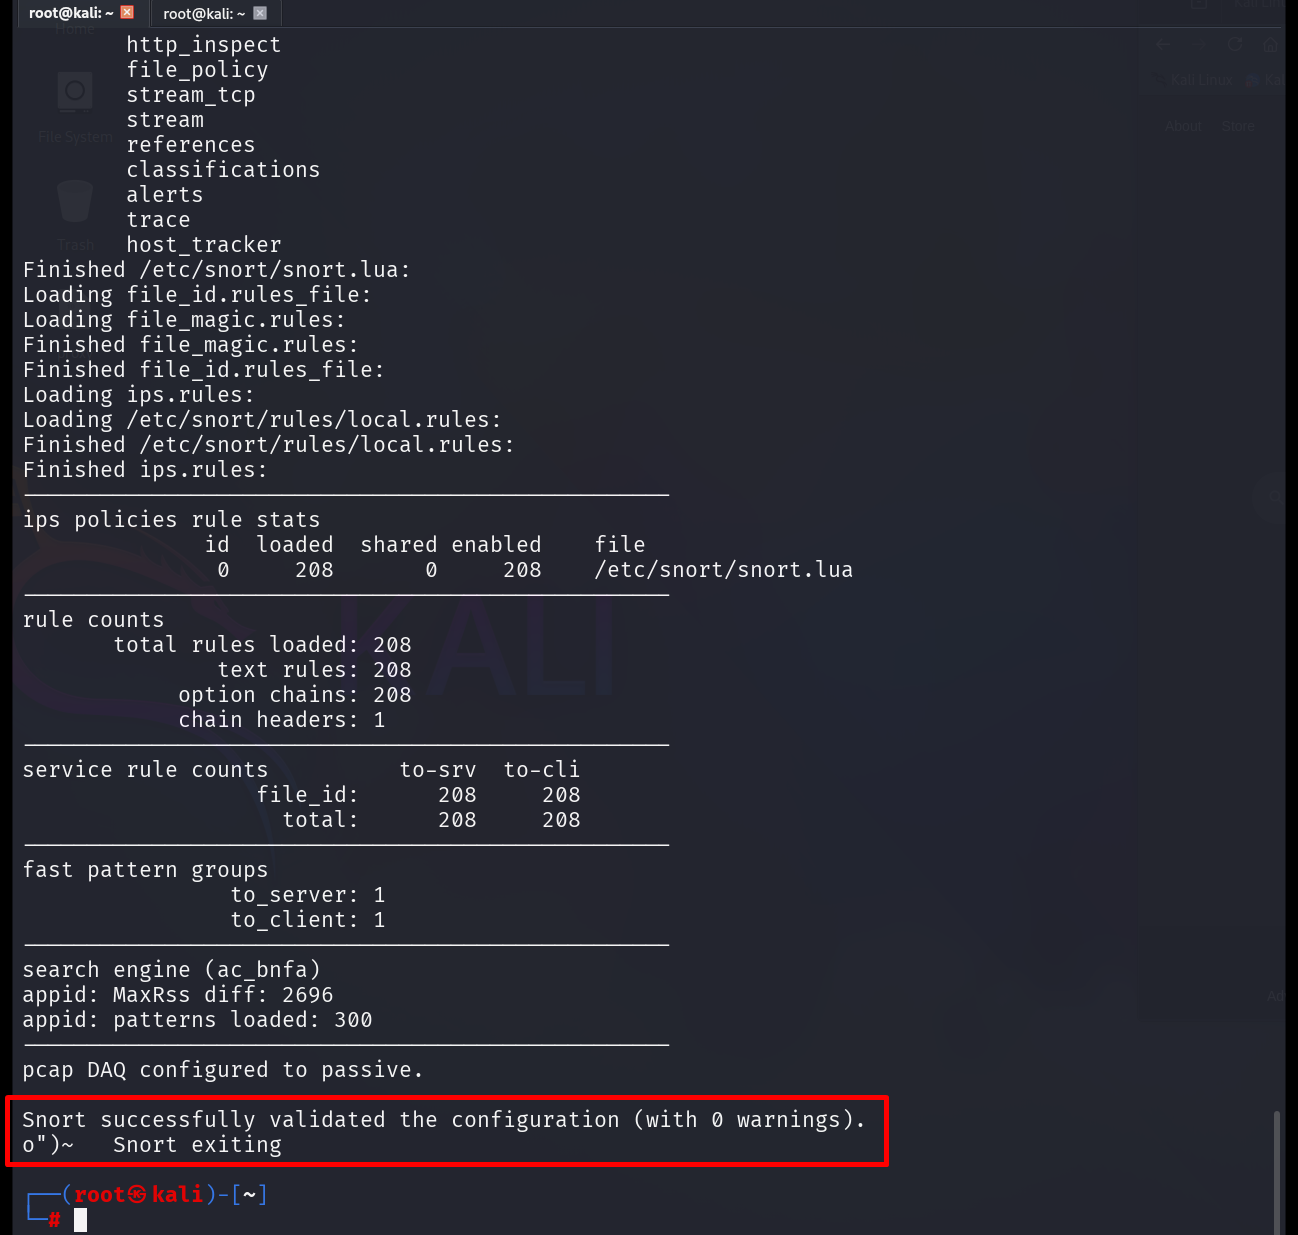
If the configuration loads successfully, you will see a confirmation message and zero warnings. If errors appear, Snort will indicate the exact file and line number that requires adjustment.
At this point, Snort is installed, configured, and validated with a correct network definition and an active rule path. These steps form the baseline for a functional IDS environment. From here, Snort can begin monitoring traffic, generating alerts, and supporting deeper inspection.
In the next part of this series, we will focus on building and expanding your detection capability, including rule updates, custom rule creation, and tuning output for efficient analysis.
Stay Curious!